Farm Fresh to Favorite Recipes: Raspberries
This is the first post in a brand new series on the Grateful Heart Home & Garden website. I’ll be featuring farms that I visit throughout the summer and then share the recipe (or recipes) I make from my farm fresh finds. In essence, the farm to table concept! So come along with me on my journey to the farm, into the kitchen, and finally onto the table to enjoy with family & friends.
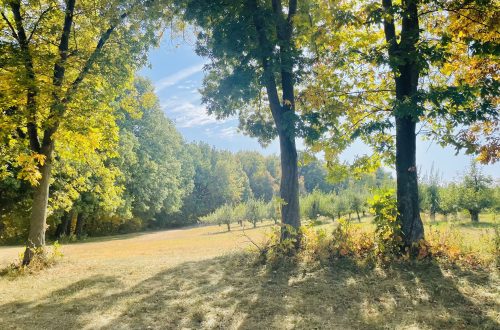
The Farm Visit: Bainbridge Island Farms, also known as Suyematsu Farm is one of the oldest, largest, and continually operated farms in our county with over 100,000 pounds of produce grown each year. We’ve been going to this farm for a few years now to purchase strawberries, pick raspberries, and purchase other produce. It’s just a 5 minute e-bike ride away from our home so we are frequent visitors in the summer months when they are open. The water tower at the Day Road location was built circa 1912 and is listed on the City of Bainbridge Island’s historic register.


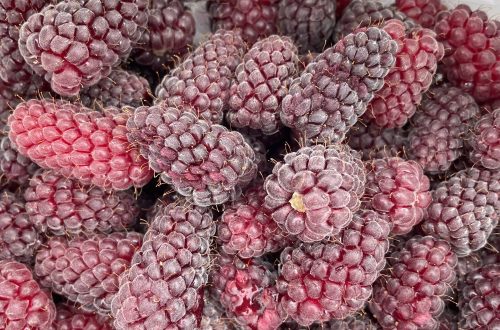
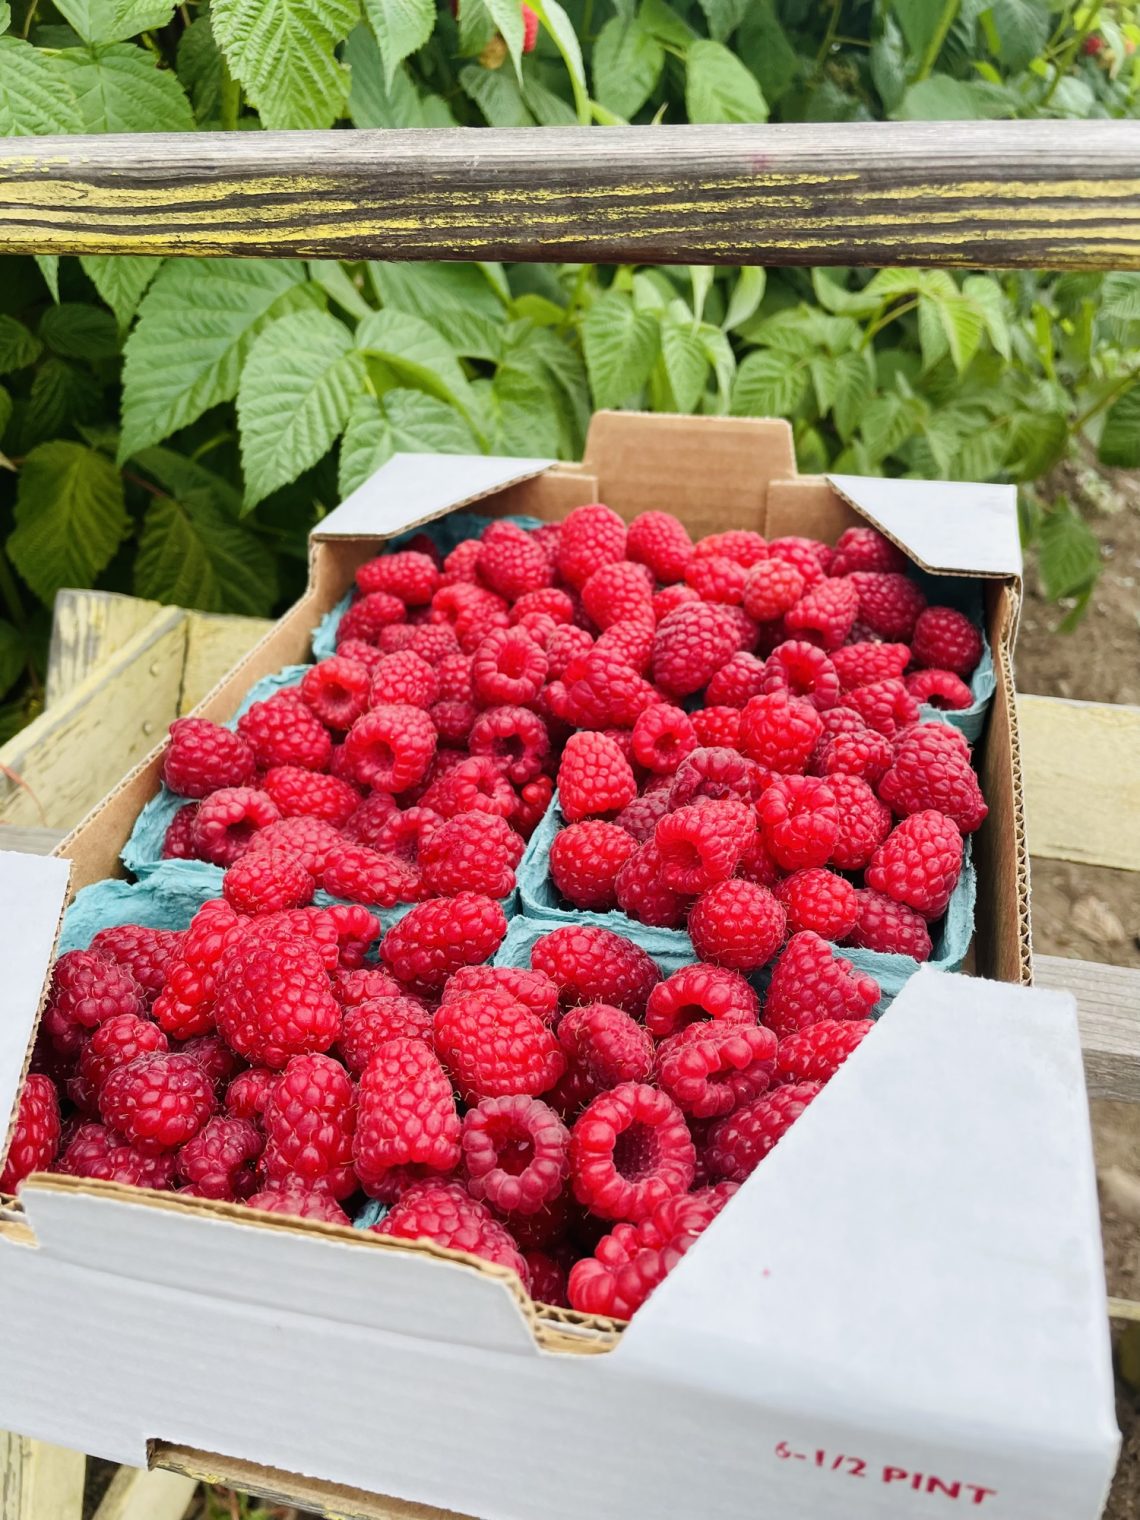
Picking Raspberries: I arrived right as the farm was opening at 9am on a Saturday morning. I parked my e-bike in the field nearby and was directed to a specific row of raspberries, given a raspberry caddy (wooden rack for holding the box), and a cardboard box with 6 pints inside. The key is to pick the raspberries that separate easily from the core which remains on the plant. I like to have a mixture of very ripe (fall of effortlessly) to a little under ripe (need a little tug) to have a balance of sweetness and tartness for my raspberry jam.


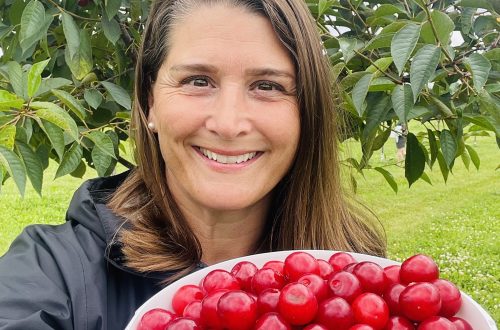
Celebrating my Mom: The last time I made jam was with my Mom in June of 2020, just 4 months before she passed away. I wanted to feel close to her today in the field so I wore her favorite summer sun hat even though it was a cloudy while I was there. Sometimes it’s the simple things that make me feel connected to her.
Into the Kitchen: After biking home with my freshly picked raspberries I emptied them into a large colander and spritzed them with a fruit and vegetable cleaner (I like Trader Joe’s Fruit and Vegetable wash) and let them sit there for ~10 minutes or so while I gathered all of my jam making supplies. After a good rinse I put all of my raspberries – the 6 pints (~8 cups) in a large pot on the stove. Follow the step by step instructions below if you’d like to make your own homemade red raspberry jam – this is my Mom’s recipe that we’ve been making for many years!
Homemade Red Raspberry Jam
Ingredients:
- 8 cups of fresh raspberries
- 6 1/2 cups of sugar
- One package of Sure Jell Certo liquid fruit pectin
- 12 clean half pint jars (8 oz.)with two piece lids
Step One: Clean your berries – you can use water or use a fruit and vegetable wash – let drain for ~10 minutes.
Step Two: Put all of the berries in a large pot on the stove and add in the sugar – mix well using a spatula so the berries are evenly covered.
Step Three: Bring the berries and the sugar to a full roiling boil (this is a boil that does not stop bubbling when stirred) on high heat, boil for 1 minute while stirring constantly.
Step Four: Stir in the one package of liquid fruit pectin, return to a full roiling boil for 1 minute while stirring constantly. Remove from the heat while you gather your jars and a large 4 cup Pyrex measuring cup (you can use a ladle but I prefer pouring, it’s less messy).
Step Five: Pour a portion of the jam mixture into your large Pyrex measuring cup and fill up the jars within 1/2″ of the top. You’ll need to fill up your large measuring cup a few times to fill all of the jars. Wipe down the outside of the jars (if needed) with a damp cleaning rag and cover with the two piece lids screwing the lid on tight. You should have 10-12 half pint jars filled with fresh raspberry jam when you are done.
Step Six: If you don’t want to refrigerate all of the jars of jam you’ll need to seal your cans. This is pretty simple! Take the largest pot you have and put in as many jars of the jam as possible into the pot – my 8 quart pot holds 6 jars easily. Fill the pot up with water until the jars are covered with 1-2″ of water. Cover with a lid and bring to a boil – boil for 10 minutes. Carefully remove the jars (I use tongs) and place them on a kitchen towel to cool completely.
Step Seven: After the jars have cooled completely you can check the seals by pressing the middle of the lid with your finger – if the lid springs back the lids are not sealed and you’ll need to refrigerate the jars. If the lid does not spring back then it is safe to store in your pantry for ~ 1 year. Enjoy!
Onto the Table: I love to spread this raspberry jam on a slice of fresh sourdough bread for breakfast or use it as hostess gifts when we go over to a friends house for dinner.

Kristin
I was born and raised as a farm girl in the Midwest and have spent the past 20 years living in Australia, Hawaii, and the Pacific Northwest working as a marine mammal biologist. I love spending time with family, gardening, being outside, and I enjoy making delicious meals for my friends and family. My beloved mama, Kelly passed away in late 2020 and this website is dedicated to her - she taught me to be a grateful heart and see the beauty that surrounds me in all that I do.