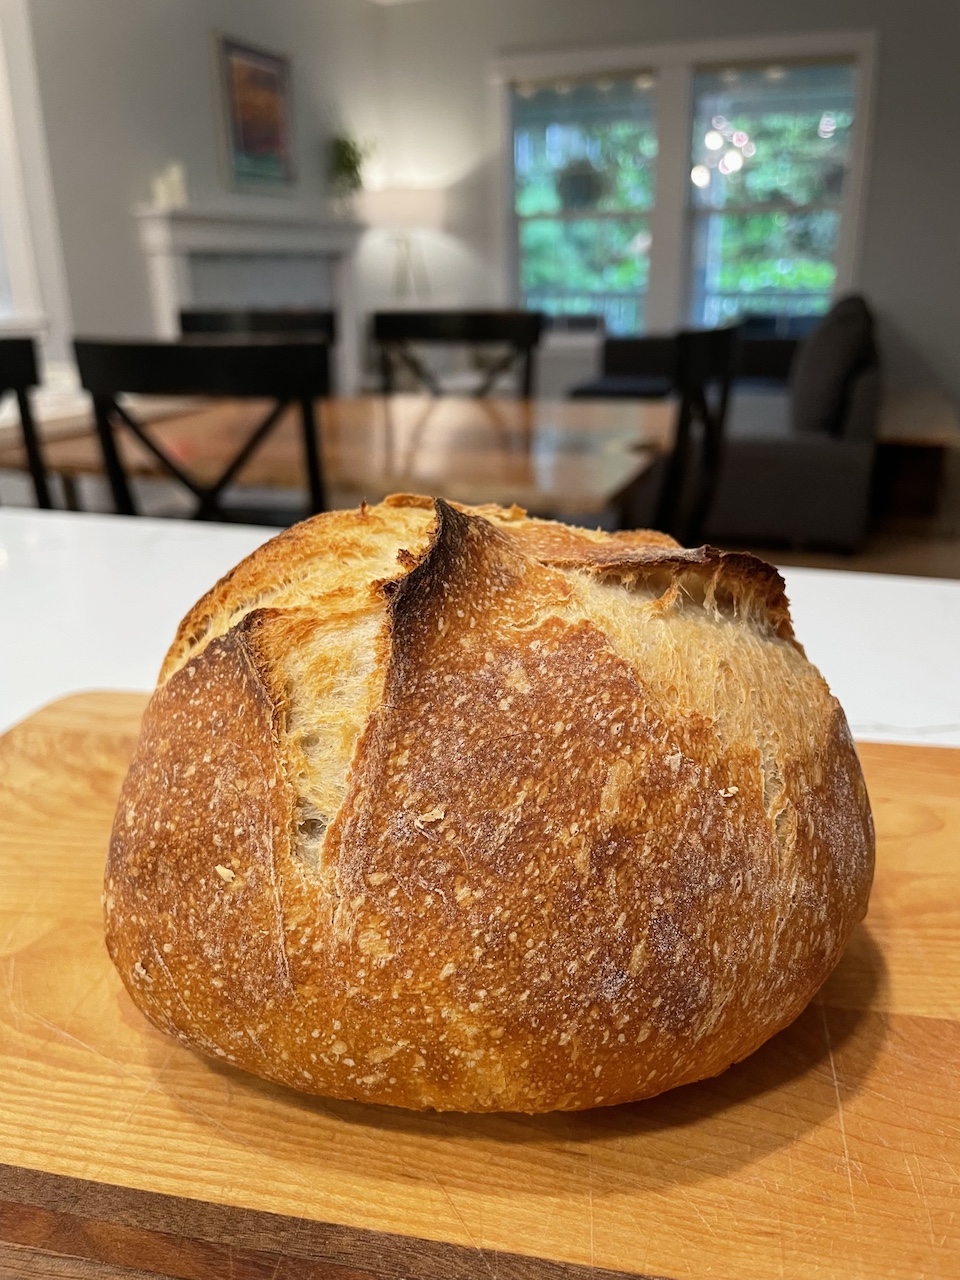
How to Make Simple Sourdough Bread @ Home: Bread Machine Instructions
In March 2024 I went to a Sourdough Workshop and learned how to make sourdough. Everyone was sent home with 25g of starter and basic instructions of how make it yourself. After months of practice in the kitchen I’ve finally perfected my loaf and my sourdough process – I am sure this will be ever evolving but I wanted to share my step by step guide. In this recipe the bread machine is only going to be used to mix your ingredients, we are not going to bake the loaf in the bread maker.
Are you new to sourdough? If so, you can check out some of my top tips and tricks on my Learning How to Make Sourdough Bread post.
Serving: 1 loaf of bread or 2 mini loaves. Time: around 8.5 hours + overnight cold ferment in the fridge
If you don’t have a bread maker no worries – check out my How to Make Simple Sourdough Bread @ Home recipe.
Ingredients:
- 150 g of sourdough starter – this is ~ 1/2 cup
- 450 g of unbleached all purpose flour – this is ~ 3 1/2 cups + 2 tablespoons
- 300 g of filtered water – this is ~ 1 1/4 cup + 2 tablespoons
- 10 g of fine pink Himalayan salt – this is ~1 3/4 teaspoon
Step One: Add the sourdough starter, unbleached all purpose flour, filtered water, and salt into the bread machine. Use the dough setting only, this setting will mix all of your ingredients over a period of 1.5 hours.
Step Two: Once the bread machine has finished the dough cycle place the dough on a lightly floured surface. If you’d like to make two mini loaves, separate the dough into two equal portions (see below photo). If you’d like to make one large loaf then just shape it into one round loaf.
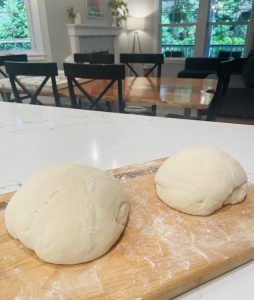
Step Three: Do your first stretch and fold right after Step Two, this means taking a small portion of the dough and folding it into the center. I do this in three sections; top right to the center, top left to the center, and then bottom left to the center and then flip it over and shape it into a circle using your hands cupped around the perimeter. Let rest for 30 minutes.
Step Four: Do a second round of stretch and fold, let rest 30 minutes.
Step Five: Do a third round of stretch and fold, let rest 30 minutes.
Step Six: Do a fourth round of stretch and fold.
Step Seven: Leave the dough on the counter to bulk ferment for 3-4 hours. In the warmer summer months keep an eye on the dough, you don’t want it to become too puffy and over proof.
Step Eight: Move the dough into a banneton, cover with plastic wrap, and continue the bulk ferment in the fridge overnight.
Step Nine: The next morning pre-heat your dutch oven in your oven at 500 degrees for 45 minutes. Your dutch oven should have the lid on during the heating process. I use this dutch oven from Lodge, at just $60 it’s a real deal.
Step Ten: When the oven has pre-heated for 45 minutes remove your dough from the fridge. Place your dough on a large piece of parchment paper. If you made two mini loaves then put one on the parchment and wrap the other in plastic wrap (see below photo) and place it in the fridge to bake another day (or leave it on the counter if you plan to bake it right your first loaf).
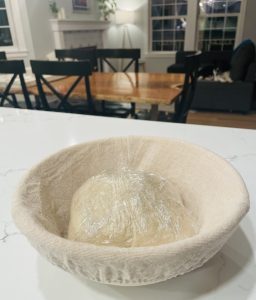
Step Eleven: Score your loaf with a bread lame – this is using the edge of a sharp razor perpendicular to the surface of the dough and making a quick decisive slash. Scoring allows for an even internal structure while allowing the loaf to attain its shape and maximum volume.
Step Twelve: When your dutch oven has been in the oven for 45 minutes carefully pull it out and place the dutch oven on top of the stove. Carefully remove the lid and lower the dough on the parchment into the middle of the dutch oven. Put the lid back on.
Step Thirteen: For one large loaf bake at 480 degrees for 25 minutes, then take the lid off, reduce the heat to 450 degrees, and bake for an additional 15 minutes. If you are baking a mini loaf, bake at 480 degrees for 15 minutes, then take the lid off, reduce the heat to 450 degrees and bake for an additional 8-10 minutes.
Step Fourteen: Let cool on the counter or on a baking rack for at least 30 minutes. I know it’s hard to wait but your loaf is still baking and developing the texture as it cools.
Enjoy! I like to serve my sourdough with fresh homemade jam or homemade salted butter.
Want to learn how to make your own butter at home? Check out my post How to Make Homemade Butter – it just takes 2 ingredients and 10 minutes!
Do you want to learn how to make fresh homemade jam? Check out my Farm Fresh to Favorite Recipes page for several jam recipes.
Questions? Leave a comment on the post if you’d like.

Kristin
I was born and raised as a farm girl in the Midwest and have spent the past 20 years living in Australia, Hawaii, and the Pacific Northwest working as a marine mammal biologist. I love spending time with family, gardening, being outside, and I enjoy making delicious meals for my friends and family. My beloved mama, Kelly passed away in late 2020 and this website is dedicated to her - she taught me to be a grateful heart and see the beauty that surrounds me in all that I do.





One Comment
Casey Wilkinson
So so so good!